Step-by-Step DIY Guide to Installing Kitchen Cabinets


Planning Your Kitchen Cabinet Installation
Before diving into the installation process, it's crucial to have a well-thought-out plan. Measure your kitchen space accurately and decide on the cabinet layout. Consider the style and material of the cabinets that best match your kitchen aesthetics. Make sure to have all necessary tools and materials on hand, such as a drill, screws, a level, and a stud finder.
Preparing Your Kitchen Space
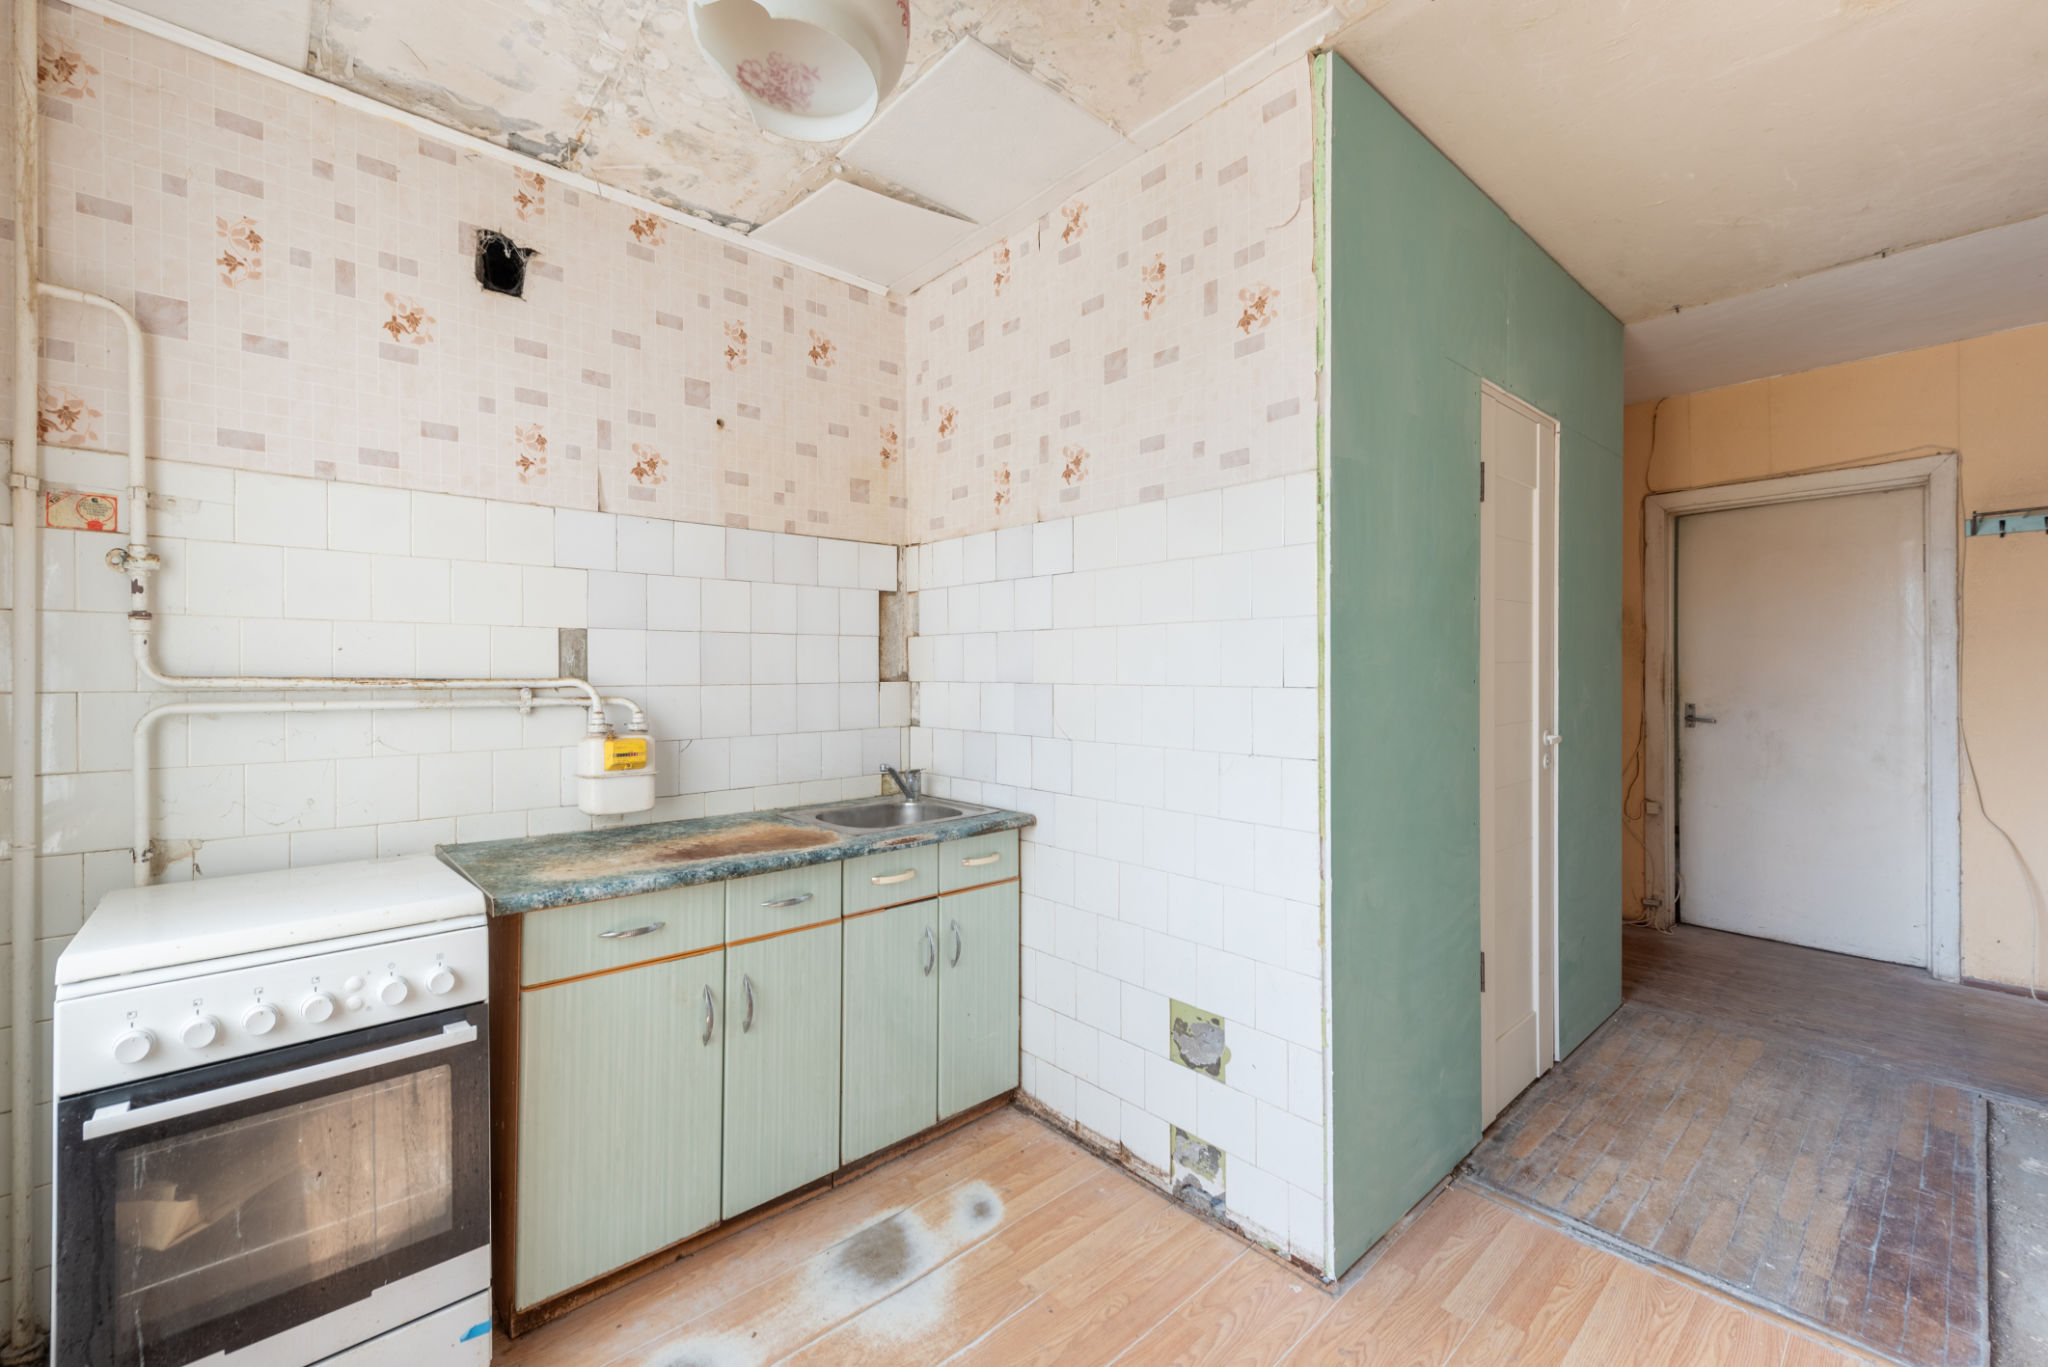
Clear out your kitchen and remove any existing cabinets or fixtures that are in the way. Use a stud finder to locate the wall studs, as they will provide the necessary support for your cabinets. Mark these locations with a pencil. Additionally, draw a level line on the wall where the top of your cabinets will go to ensure they are installed evenly.
It's also advisable to turn off any electrical circuits in the kitchen to avoid accidents while working around outlets and switches.
Installing the Upper Cabinets First
Start with the upper cabinets, as they are easier to install without the base cabinets in place. With the help of a friend, lift the cabinet into place and ensure it's aligned with your level line. Secure the cabinet into the wall studs using screws. It's essential to check that each cabinet is plumb and level before moving on to the next one.
Continue this process for all upper cabinets, ensuring that each unit is tightly secured and flush with its neighbor. This step is crucial for a seamless look and to avoid gaps between cabinets.

Mounting the Base Cabinets
Once the upper cabinets are securely in place, it's time to focus on the base cabinets. Start in a corner or against a wall, aligning the first cabinet with the level line marked on the wall. Use shims where necessary to ensure that all base cabinets are level and plumb.
Secure each base cabinet to the wall studs using screws, and make sure they are tightly fastened together. Adjust the doors and drawers after installation to ensure smooth operation.
Adding Finishing Touches
With all cabinets installed, it's time to add finishing touches. Install handles or knobs on cabinet doors and drawers for a polished look. If needed, attach molding to cover any gaps between the cabinets and ceiling or floor.
Finally, clean up any dust or debris from the installation process and give your new kitchen cabinets a thorough wipe-down.
Final Checks and Adjustments
After installation, take a moment to inspect your work. Ensure all doors and drawers operate smoothly and make any necessary adjustments. Check that all screws are tight and that there are no visible gaps or misalignments.
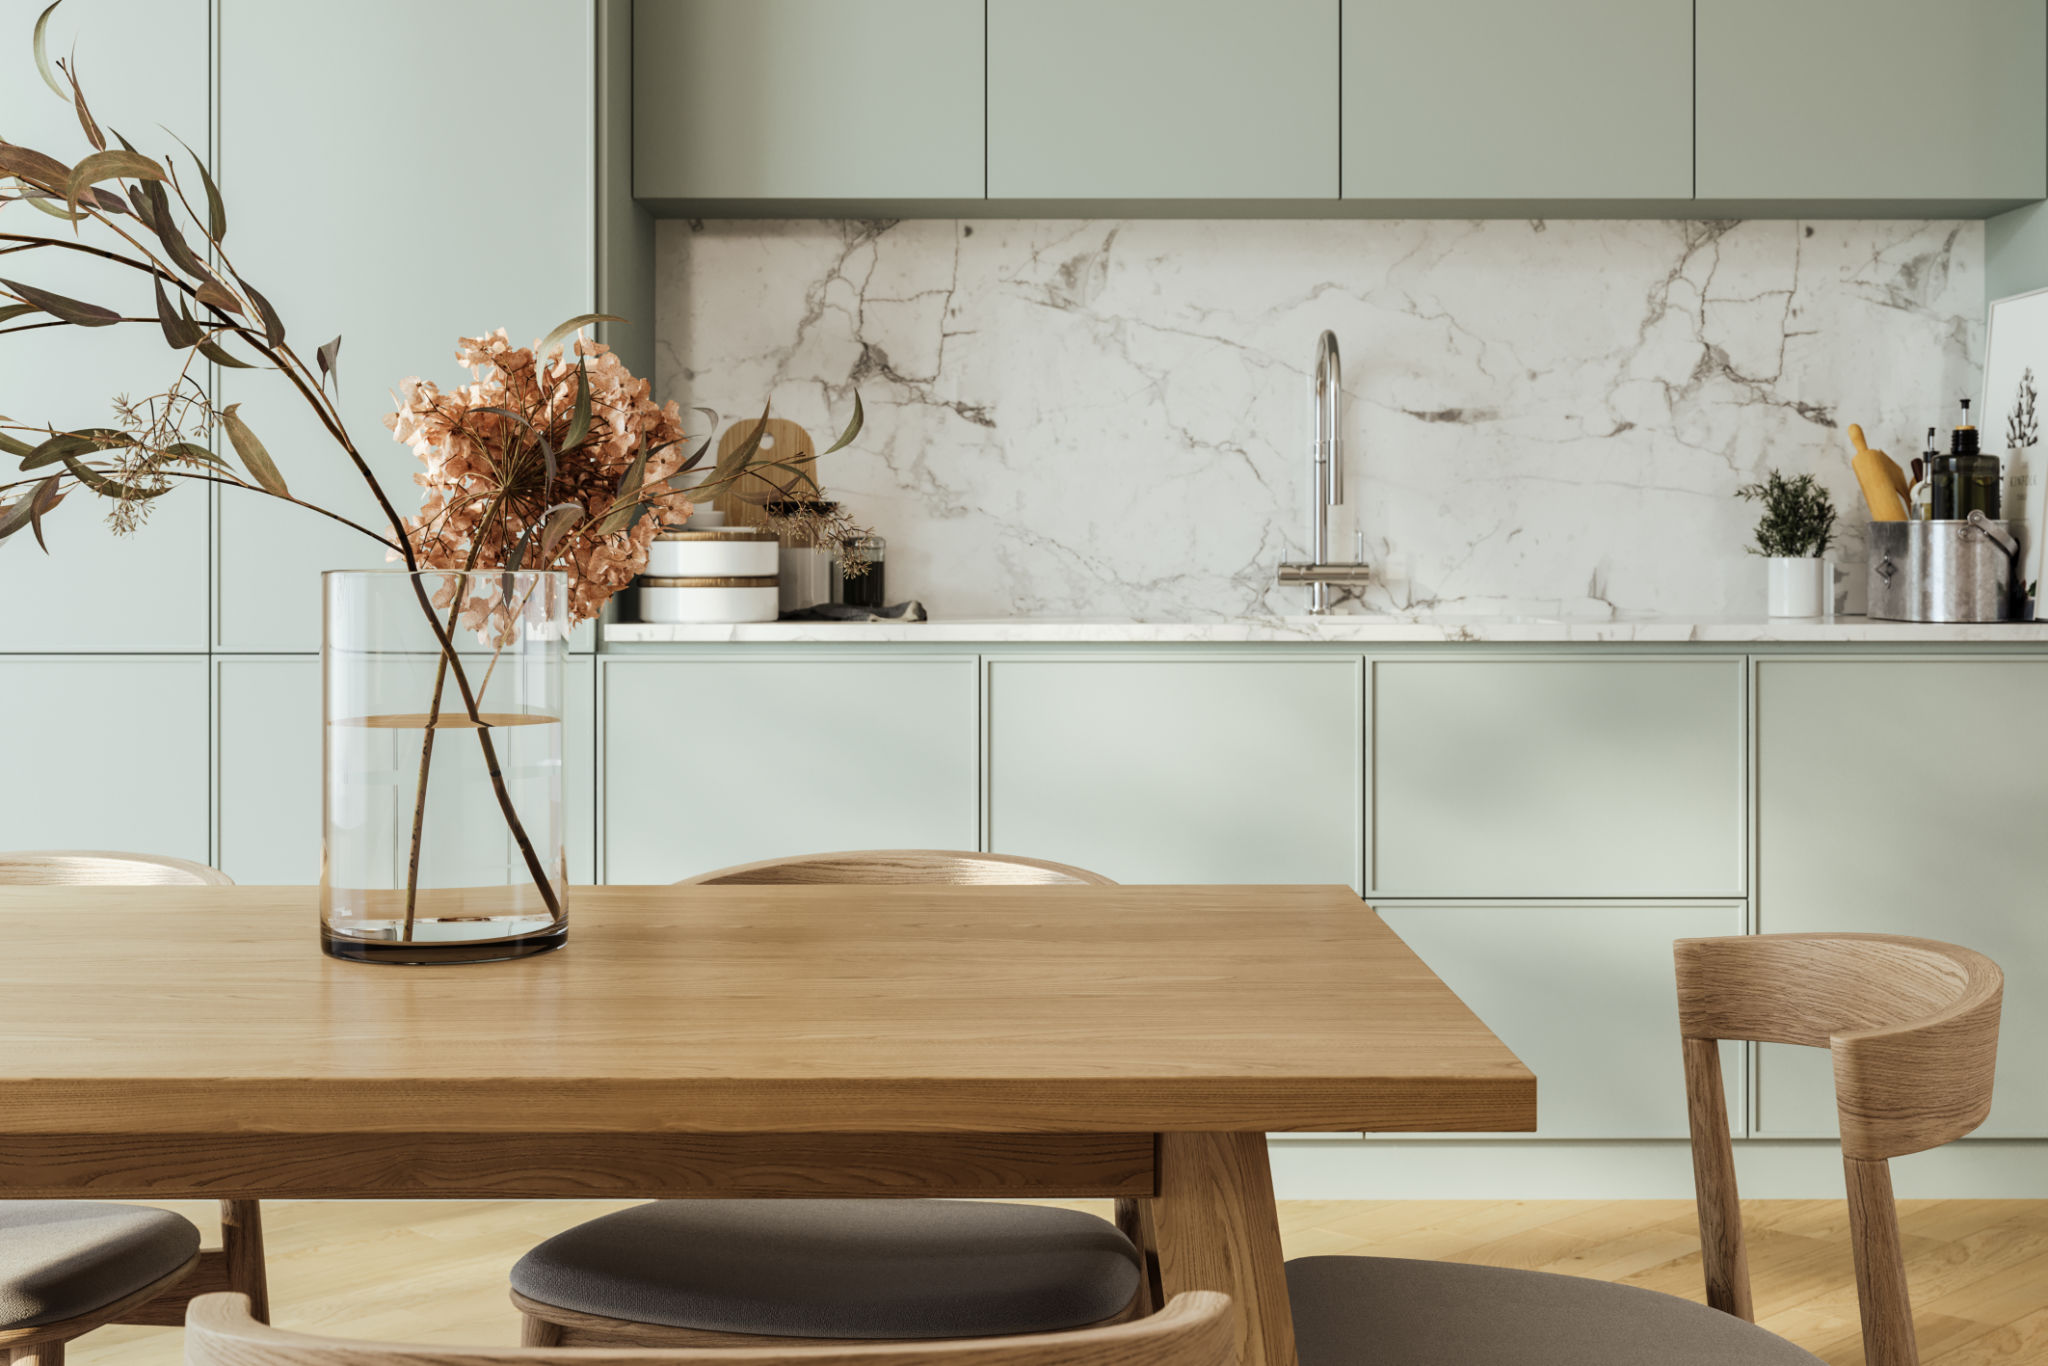
Your kitchen cabinets are now installed, providing both functionality and style to your cooking space. Enjoy your newly transformed kitchen!